Adding documents
Creating a new document
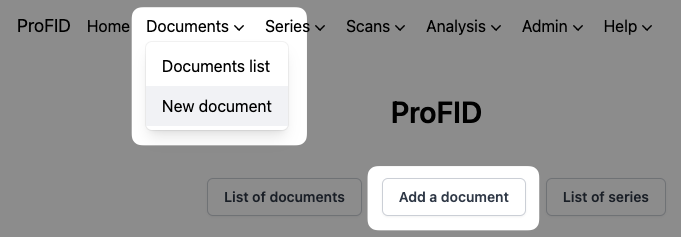
Either click the "Add a document" button, which is accessible from the home page, or the "New document" button, which is accessible from the "Documents" menu at the top of any page.
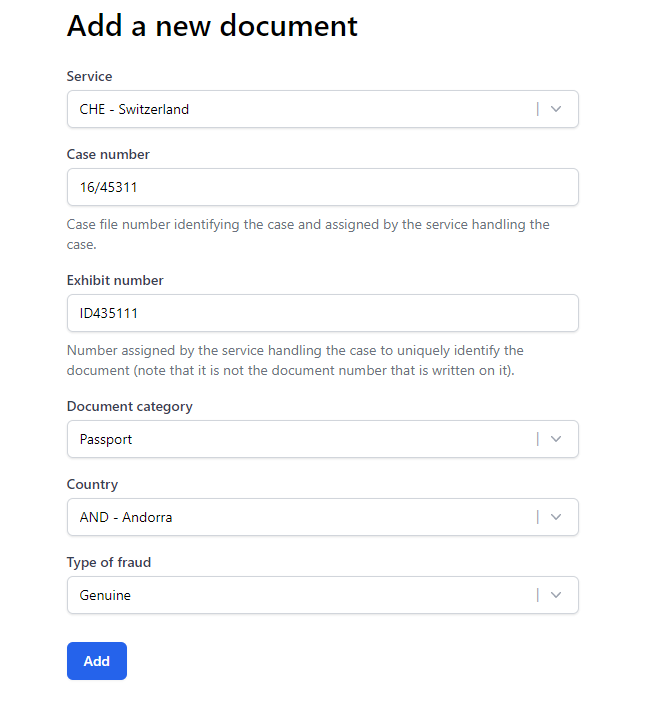
Complete all six mandatory fields about the case and the document/exhibit itself and submit the form. You will have to decide on two identifiers: the case number and the exhibit number. You can learn more about how those should be formatted in the section about Case and exhibit identifiers.
Document QR codes
Once the document has been created, you will be redirected to the document's QR code print page. This page allows you to print or download the QR codes needed to correctly upload document scans (see point 3. in Scanning documents > Prerequisites).

To print: Click on the "Print" button to open a dialog to print all QR codes, which allows you to cut them out and place them on the scan canvas.
It is important to cut them out along the dotted lines, otherwise they might not be read correctly.
To download: If you prefer to insert the QR codes digitally on an existing scan image, use the QR code download buttons indicated above by the red arrows. It will save an image of the QR code on your computer.
Case and exhibit identifiers
Depending on the service, the case number and the exhibit number are likely to change. It is up to each of them to decide which format to use. If in doubt, you should contact an administrator of the service.
You can find hereby some real examples:
| Service | Case number | Exhibit number |
|---|---|---|
| A | 17_03_1234 | 12345_17 |
| B | 17/39174 | ID391741 |
| C | 2013V000085.01 | 2013V000085.01.02.0022 |
| D | 182980 | 182980-P001 |
| E | 423-17 | 2039 |
| F | 17-0227 | 17-0227DOC1_1 |